


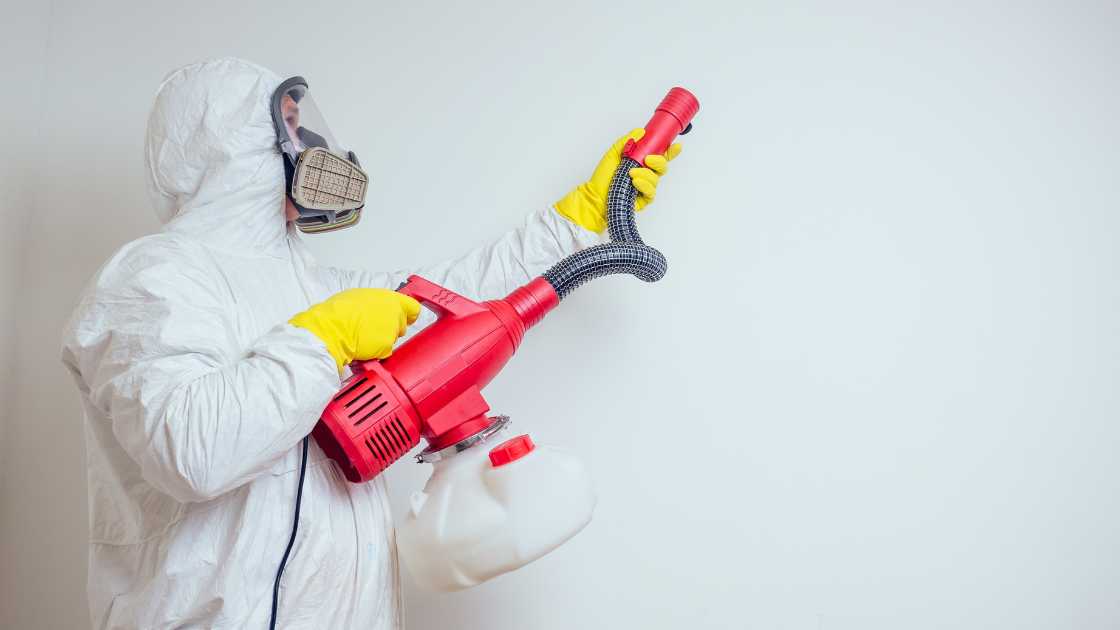
Spraying interior walls is a game-changer when it comes to achieving a flawless, professional-looking finish. Whether you’re a seasoned DIY enthusiast or a novice looking to take on a home improvement project, mastering the art of wall spraying can save you time and effort. In this comprehensive guide, we’ll take you through the process, step by step, to ensure you achieve stunning results. So, grab your paint sprayer and let’s get started!
There are 10 Steps to Process of Spraying Interior Walls
Gather Your Supplies
Before you dive into spraying your interior walls, make sure you have all the necessary supplies ready:
- Paint sprayer (HVLP or airless)
- Paint of your choice
- Painter’s tape
- Drop cloths or plastic sheets
- Paint strainer
- Respirator mask
- Safety goggles
- Paint stirrer
- Paint tray (for small touch-ups)
- Extension cord (if needed)
Prepare Your Workspace
Preparation is key to a successful wall spraying project. Start by clearing the room of furniture and covering any fixtures or items that can’t be moved with drop cloths or plastic sheets. Use painter’s tape to mask off areas like windows, trim, and baseboards to prevent overspray.
Mix and Strain Your Paint
If your paint has been sitting for a while, it’s essential to give it a good stir to ensure a consistent color. Use a paint stirrer or an electric mixer for larger quantities. Additionally, strain your paint through a paint strainer to remove any debris or impurities that could clog your sprayer’s nozzle.
Safety First: Wear Protective Gear
Before you start spraying, don’t forget to prioritize your safety. Put on a respirator mask to protect your lungs from paint fumes and wear safety goggles to shield your eyes from overspray.
Adjust Your Sprayer
Your paint sprayer’s settings will depend on the type of sprayer you have and the paint you’re using. Consult your sprayer’s manual for specific instructions. Generally, you’ll need to adjust the spray pattern, pressure, and nozzle size to match your project’s requirements.
Practice Your Technique
Before tackling your walls, practice your spraying technique on a scrap piece of cardboard or a spare wall if available. This will help you get a feel for the sprayer and ensure you’re comfortable with the spray pattern and coverage.
Start Spraying Your Interior Walls
Now that you’re ready to begin, follow these steps for a smooth application:
Begin with an even coat:
Start at the top corner of your wall and work your way down in a vertical motion. Overlap each pass by about 50% to ensure even coverage.
Maintain a consistent distance:
Keep your sprayer’s nozzle about 12-18 inches away from the wall surface for optimal results. Adjust this distance as needed to achieve the desired coverage.
Work in sections:
Divide your wall into manageable sections, typically about 4×4 feet. This prevents the paint from drying before you can smooth it out, reducing the chance of streaks or uneven coverage.
Keep a steady pace:
Move your sprayer at a steady, controlled pace to avoid drips and runs. Don’t rush; it’s better to apply multiple thin coats than one thick one.
Overlap each pass:
As you move horizontally or vertically, overlap each pass slightly to ensure consistent coverage and eliminate any missed spots.
Allow for Drying Time
After completing the first coat, allow it to dry according to the paint manufacturer’s recommendations. This usually takes a few hours. If necessary, apply additional coats following the same technique until you achieve the desired finish.
Clean Your Sprayer
Properly cleaning your paint sprayer after use is crucial to maintain its longevity and performance. Follow the manufacturer’s instructions for cleaning and storage.
Finish Up and Admire Your Work
Once your final coat has dried, remove the painter’s tape, replace any fixtures or furniture you moved, and step back to admire your beautifully sprayed interior walls. You’ve achieved a professional-looking finish that’s sure to impress!
FAQs
What type of paint sprayer should I use for spraying interior walls?
The choice of paint sprayer largely depends on your specific project and budget. There are two main types of paint sprayers commonly used for interior walls:
HVLP (High-Volume, Low-Pressure) Sprayers:
These sprayers are ideal for interior walls because they produce less overspray, which means less mess and wasted paint. They provide a fine, even finish and are suitable for both beginners and experienced painters.
Airless Sprayers:
Airless sprayers are powerful and can handle larger projects quickly. They are great for covering large wall areas but tend to produce more overspray, so careful masking and practice are essential.
Do I need to thin my paint before spraying interior walls?
Whether or not you need to thin your paint depends on the type of paint you’re using and the specifications of your paint sprayer. Here’s a general guideline:
Latex or water-based paints:
These paints are typically ready to use with most HVLP sprayers. However, if your paint seems too thick for your sprayer, you can add a small amount of water (usually 5-10% by volume) and mix thoroughly. Always follow the paint manufacturer’s recommendations for thinning.
Oil-based paints:
These paints may require thinning with the appropriate solvent, like mineral spirits or paint thinner. Refer to the paint manufacturer’s instructions for the correct thinning ratio.
Check your sprayer’s manual:
Your paint sprayer’s manual will provide specific guidance on paint viscosity and thinning requirements. Always consult it to ensure you’re using the right consistency for your sprayer.
How can I prevent overspray when spraying interior walls?
Minimizing overspray is crucial to achieving a clean and efficient paint job. Here are some tips to help you prevent overspray:
Mask and cover:
Use painter’s tape and plastic sheets or drop cloths to mask off areas you don’t want to paint, such as windows, trim, and furniture. Ensure that everything not being painted is well-covered.
Adjust spray settings:
Set your paint sprayer to the appropriate spray pattern and pressure for your project. Follow the manufacturer’s recommendations in your sprayer’s manual.
Maintain the correct distance:
Keep the nozzle of your paint sprayer about 12-18 inches away from the wall surface. This distance helps control overspray and ensures even coverage.
Use a practice surface:
Before starting on your walls, practice your spraying technique on a scrap piece of cardboard or an inconspicuous area to get a feel for your sprayer’s behavior.
Work in sections:
Divide your walls into manageable sections and spray in a consistent, controlled manner to prevent excessive overspray buildup.
Conclusion
Spraying interior walls can be a game-changer for your home improvement projects, providing a smooth and even finish that’s hard to achieve with traditional methods. With the right tools, technique, and a little practice, you can transform your space and create a stunning atmosphere. So, pick up that paint sprayer and get ready to spray your way to interior perfection!