


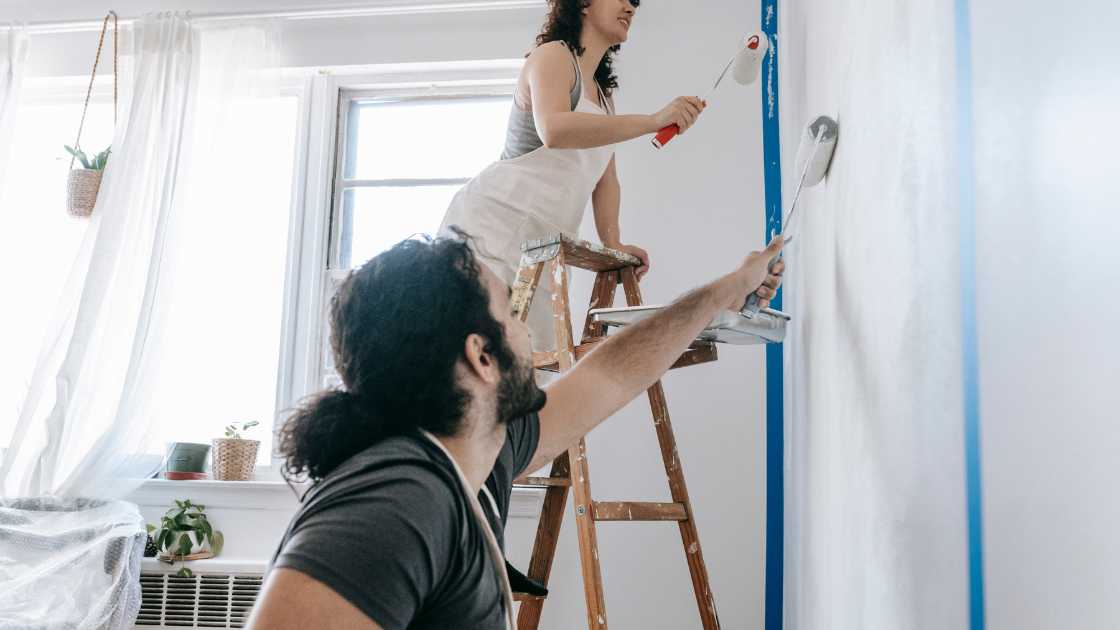
Painting a room or a piece of furniture can be a satisfying DIY project, but sometimes, things don’t go as smoothly as planned. One common issue that can arise is the appearance of lap marks on your painted surface. Lap marks are visible lines or streaks that occur when the wet edge of the paint dries before you can finish the entire surface. These marks can detract from the overall finish of your paint job. Fortunately, there are several steps you can take to fix lap marks and achieve a smooth, professional-looking result. In this article, we’ll guide you through the process of addressing and correcting lap marks when painting.
There are 7 Effective Process of Addressing and Correcting Lap Marks When Painting
Prep Your Surface Properly
Before addressing lap marks, it’s important to ensure that your painting surface is prepared adequately. Clean the surface to remove any dirt, dust, or grease. Sand it lightly if necessary and make sure it’s dry. Apply a coat of primer if you’re working on a porous or previously unpainted surface. Adequate surface preparation will help your paint adhere properly and reduce the likelihood of lap marks.
Use High-Quality Paint and Tools
Choosing high-quality paint and the right tools can significantly impact the outcome of your project. High-quality paints are less likely to leave lap marks, and they generally have better flow and leveling properties. Using good-quality brushes or rollers that are appropriate for the type of paint you’re using will also help prevent lap marks. Cheap or old brushes and rollers may leave streaks in the paint, leading to lap marks.
Maintain a Wet Edge
One of the primary causes of lap marks is allowing the paint to dry before you can finish a section of your project. To avoid this, always maintain a “wet edge.” This means you should work quickly and avoid long breaks between sections. Paint in manageable sections, and try to complete each section in one go, keeping the leading edge wet as you move along.
Feather Your Brush Strokes
When applying the paint, use a technique known as feathering to blend the wet edge with the previous section. This involves lightly overlapping the new strokes with the old ones and using smooth, even strokes to create a seamless transition. Feathering helps to prevent the formation of lap marks and ensures a consistent finish.
Blend Lap Marks
If you do end up with lap marks, don’t panic. You can often fix them by blending the edges while the paint is still wet. To do this, gently feather the edges of the lap marks using a clean, dry brush or roller. Work the brush or roller over the affected area, blending the wet and dry paint together. This will help to create a smoother transition and make the lap marks less noticeable.
Consider Repainting the Entire Surface
In some cases, lap marks may be too severe to fix by blending. If the lap marks are highly visible and persist even after blending, you may need to repaint the entire surface. Sand down the affected area, prime if necessary, and repaint the entire section with fresh paint, being careful to maintain a wet edge.
Improve Your Technique
Preventing lap marks in the first place is the best approach. Take your time to develop your painting technique. Practice on a small sample board or an inconspicuous area before tackling a large project. Pay attention to your speed, the amount of paint on your brush or roller, and the angle at which you apply the paint. Learning to apply paint smoothly and evenly can help you avoid lap marks in the future.
FAQs
What causes lap marks when painting, and how can I prevent them?
Lap marks occur when the wet edge of the paint dries before you can complete a section, resulting in visible lines or streaks. To prevent lap marks, make sure to maintain a wet edge by working quickly and in manageable sections. Use high-quality paint and tools, and practice your painting technique to achieve a smooth and even application. Feather your brush strokes to blend the wet edge with the previous section, and always prepare the surface properly by cleaning and, if necessary, priming it before painting.
I already have lap marks on my painted surface. How can I fix them?
If you have lap marks on your painted surface, you can attempt to fix them by blending the edges while the paint is still wet. Use a clean, dry brush or roller to feather the edges of the lap marks, working to create a seamless transition. If the lap marks are severe and persistent, you may need to repaint the entire section after sanding and, if necessary, priming it. The key is to address lap marks as soon as you notice them while the paint is still wet for the best results.
Are lap marks more common with certain types of paint or surfaces?
Lap marks can occur with various types of paint and surfaces, but they may be more common when using fast-drying or low-quality paints. Inexperienced painters are also more likely to encounter lap marks. Surfaces with uneven texture or porosity may be prone to lap marks, as the paint may not adhere or flow evenly. To minimize the risk of lap marks, it’s essential to choose the right type of paint for your surface, ensure proper surface preparation, and practice good painting techniques to maintain a wet edge and achieve a smooth finish, regardless of the surface or paint type.
Conclusion
In conclusion, lap marks can be a common issue when painting, but with the right techniques and attention to detail, they can be addressed and fixed. Proper surface preparation, using quality materials, and maintaining a wet edge are key to avoiding lap marks. If they do occur, blending the edges and, if necessary, repainting the entire surface can help you achieve a professional-looking finish for your painting project.