


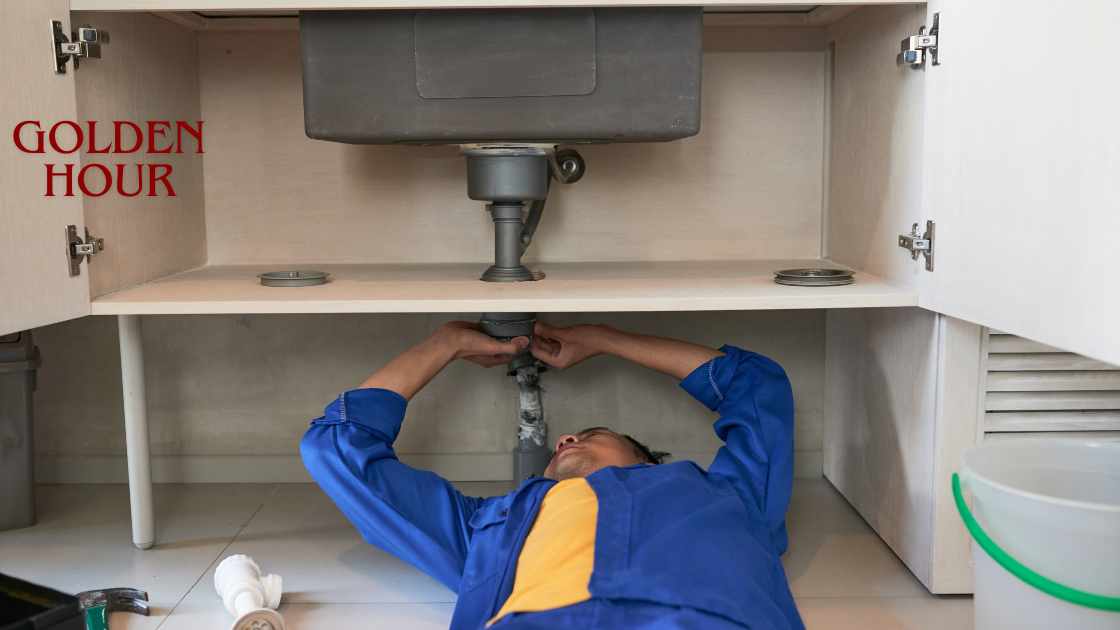
A leaking pipe under the sink can be a frustrating problem that leads to water damage and potential mold growth if left unattended. However, with the right tools and know-how, you can easily repair the leak yourself and prevent further damage to your home. In this guide, we’ll walk you through the steps to repair a leaking pipe under the sink.
Fixing a Leaking Pipe Under the Sink: A DIY Guide to Plumbing Repair
Step 1: Turn Off the Water Supply
Before you begin any repairs, it’s crucial to shut off the water supply to the affected area. Locate the shut-off valve under the sink or turn off the main water supply to your home.
Step 2: Identify the Source of the Leak
Inspect the area under the sink to identify the source of the leak. Common areas for leaks include the connections between pipes, the drain trap, and the seals around the sink’s fittings.
Step 3: Tighten Loose Connections
If the leak is coming from a loose connection, use a wrench to tighten the fittings. Be careful not to overtighten, as this can damage the pipes or fittings.
Step 4: Replace Damaged Seals
If the leak is coming from a worn or damaged seal, such as a rubber gasket or plumber’s tape, remove the old seal and replace it with a new one. Make sure the replacement seal is the correct size and material for your pipes.
Step 5: Patch Small Holes or Cracks
For small holes or cracks in the pipes, you can use plumber’s epoxy or pipe repair tape to patch the leak. Follow the manufacturer’s instructions for application and drying time.
Step 6: Replace the Pipe
If the pipe itself is damaged or corroded, you may need to replace it entirely. Measure the length of the pipe and purchase a replacement pipe of the same material and diameter. Use a pipe cutter to remove the damaged section of pipe and install the new pipe using appropriate fittings.
Step 7: Test for Leaks
Once you’ve completed the repairs, turn the water supply back on and check for leaks. Run water through the pipes and inspect the area under the sink for any signs of leakage. If you still notice a leak, double-check your repairs and make any necessary adjustments.
FAQS
What should I do if I discover a leaking pipe under my sink?
If you find a leaking pipe under your sink, the first step is to turn off the water supply to prevent further leakage. Then, identify the source of the leak and determine whether it’s a loose connection, damaged seal, or corroded pipe.
Can I repair a leaking pipe under the sink myself?
Yes, many minor leaks under the sink can be repaired DIY. Simple fixes include tightening loose fittings, replacing damaged seals or gaskets, patching small holes or cracks, or even replacing the pipe if necessary. However, if you’re unsure or uncomfortable with the repair process, it’s best to consult a professional plumber.
What tools and materials do I need to repair a leaking pipe under the sink?
The tools and materials you’ll need depend on the nature of the leak and the type of pipe you’re working with. Generally, you may require an adjustable wrench, pipe wrench, pipe cutter, plumber’s tape, plumber’s epoxy, replacement seals or gaskets, and a replacement pipe if the damage is extensive. It’s essential to have these items on hand before beginning the repair process.
Final Thought
Repairing a leaking pipe under the sink is a manageable task that can save you time and money compared to hiring a plumber. By following these simple steps and taking the time to identify the source of the leak, you can effectively repair the leak and prevent further damage to your home. Remember to always turn off the water supply before beginning any repairs, and don’t hesitate to seek professional help if you encounter any difficulties. With a little patience and the right tools, you can tackle this DIY project with confidence and restore your sink to its leak-free state.