


Chalk painting furniture is a popular way to give old pieces a fresh, stylish look. Over 60% of DIY enthusiasts prefer chalk paint for its ease of use and vintage finish. However, brush strokes can ruin the smooth, professional appearance you want. Learning to avoid them ensures a flawless result every time.
Why Chalk Paint Is a Great Choice for Furniture
Chalk paint adheres to almost any surface without sanding or priming. This makes it ideal for beginners and professionals alike. It also dries quickly, allowing you to complete projects in a short time.
Another benefit is its versatility in creating distressed or modern looks. You can easily customize the finish to match your style. Additionally, chalk paint is eco-friendly and has low VOC levels.
Many people love chalk paint because it hides imperfections well. This means even old or damaged furniture can look new again. It is also easy to touch up if needed.
For those looking to repurpose old furniture, chalk paint offers endless possibilities. You can transform thrift store finds into stunning statement pieces with minimal effort.
Essential Tools and Materials
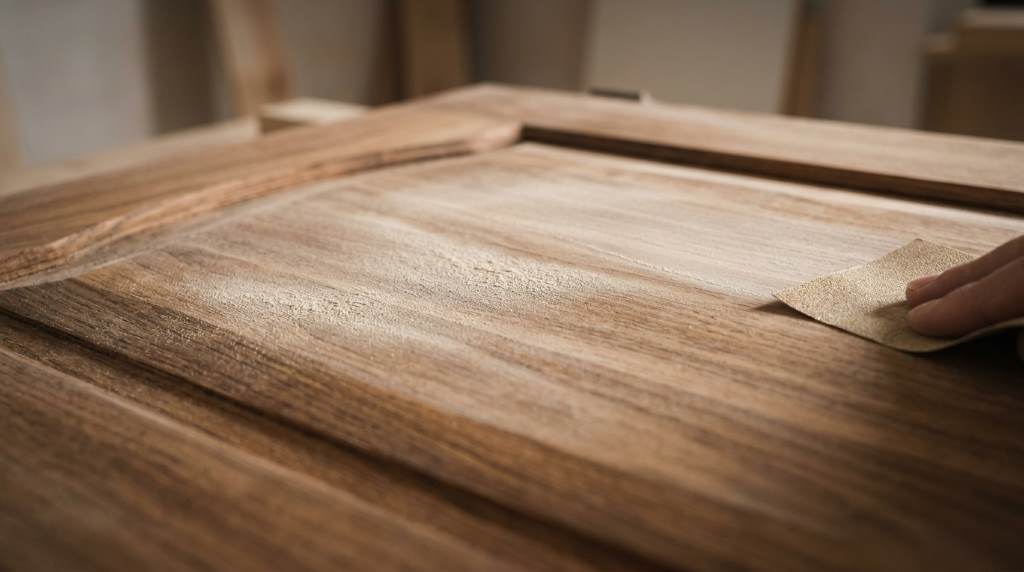
Gather high-quality chalk paint in your chosen color. A good brush or roller is also necessary for application. Sandpaper and a tack cloth will help prepare the surface.
You will need a clean cloth and mild soap for cleaning the furniture. Painter’s tape is useful for protecting areas you do not want to paint. A drop cloth will keep your workspace clean.
Consider using a paint tray for easy access to the paint. A stir stick ensures the paint is well mixed before use. Gloves can protect your hands from stains.
For a professional finish, invest in a high-density foam roller. This tool helps reduce brush strokes significantly. A spray bottle with water can also help smooth out the paint as you work.
Preparing Your Furniture for Chalk Paint
Start by removing any hardware from the furniture. This includes knobs, handles, and hinges. Clean the surface thoroughly to remove dust, grease, or dirt.
Use a mild soap and water solution for cleaning. Rinse with clean water and let the piece dry completely. This step ensures the paint adheres properly.
Lightly sand the surface to create a smooth base. Wipe away sanding dust with a tack cloth. This step is optional but recommended for a flawless finish.
If your furniture has glossy surfaces, sanding is more important. Chalk paint adheres better to matte finishes. Always work in a well-ventilated area for safety.
Techniques to Avoid Brush Strokes
Use a high-quality synthetic brush for application. Natural bristle brushes can leave more strokes. Dip the brush lightly into the paint to avoid overloading.
Apply the paint in thin, even coats. Thick coats are harder to smooth out and take longer to dry. Work in small sections to maintain control over the application.
Use long, smooth strokes in the direction of the wood grain. Avoid going back over areas that are already drying. This can cause visible strokes and uneven texture.
For an ultra-smooth finish, consider using a foam roller. Rollers distribute paint evenly and minimize brush marks. Keep a wet edge as you work to blend the paint seamlessly.
Using a Roller for a Flawless Finish
A foam roller is ideal for large, flat surfaces. Pour the paint into a tray and roll it onto the furniture. Use light pressure to avoid creating bubbles.
Work in small sections and maintain a wet edge. This technique helps blend the paint and prevents lap marks. Reload the roller often to keep the paint application even.
After rolling, use a brush to reach corners and edges. Blend the brushed areas with the rolled sections while the paint is still wet. This ensures a uniform appearance.
Let the first coat dry completely before applying a second. Lightly sand between coats with fine-grit sandpaper for an even smoother finish. Wipe away dust before adding another layer.
Thinning the Paint for Smoother Application
Thinning chalk paint slightly with water can help reduce brush strokes. Mix a small amount of water into the paint and stir well. Test the consistency on a scrap piece first.
Thinned paint flows more smoothly and self-levels better. This reduces the likelihood of visible strokes. However, avoid adding too much water, as it can weaken the paint’s coverage.
Apply the thinned paint with a brush or roller as usual. The key is to work quickly and maintain a wet edge. This method is especially useful for intricate details.
Keep in mind that thinned paint may require more coats. Allow each layer to dry fully before adding the next. Patience is essential for a professional-looking result.
Unique Tips for a Professional Finish
One uncommon but effective method is using a spray bottle. Lightly mist the painted surface with water after application. This helps the paint settle and smooth out brush strokes.
Use a clean, damp cloth to gently smooth the surface while the paint is still wet. This technique can remove minor imperfections and create a silky finish. Be careful not to disturb the paint too much.
Another tip is to use a plastic putty knife to scrape off excess paint. This works well for textured surfaces where brush strokes are more visible. Always scrape in the direction of the grain.
For a truly unique look, consider layering colors. Apply a base coat, let it dry, and then add a second color with a dry brush technique. This creates depth and hides any remaining strokes.
When selecting materials, opt for sustainable materials to align with eco-friendly practices. This choice not only benefits the environment but also enhances the quality of your project.
Common Mistakes to Avoid
Overloading your brush with paint is a common mistake. This leads to thick, uneven coats and visible strokes. Always use a light touch when loading your brush.
Applying paint in direct sunlight or high humidity can cause drying issues. These conditions can make it harder to achieve a smooth finish. Aim for a controlled environment with moderate temperature and humidity.
Skipping the prep work is another mistake to avoid. Cleaning and sanding the surface ensures the paint adheres properly. This step is crucial for a long-lasting, professional finish.
Not allowing enough drying time between coats can also cause problems. Rushing the process can lead to peeling or uneven texture. Follow the manufacturer’s recommendations for drying times.
Finishing Touches for a Perfect Look
After the final coat of paint is dry, apply a clear wax or sealant. This protects the finish and adds a subtle sheen. Use a clean cloth or wax brush for application.
Buff the wax with a soft cloth for a smooth, polished look. This step enhances the durability of the paint and gives it a professional appearance. Allow the wax to cure fully before using the furniture.
For added protection, consider using a polycrylic topcoat. This is especially useful for high-traffic pieces like tables or chairs. Apply the topcoat in thin, even layers for the best results.
If you want to create a distressed look, use sandpaper to lightly sand edges and details. This technique adds character and hides minor imperfections. Seal the piece with wax or a clear coat afterward.
For those working in smaller spaces, incorporate high end furniture to maximize both style and functionality. This approach ensures your chalk-painted pieces stand out beautifully.
Maintaining Your Chalk-Painted Furniture
Clean your chalk-painted furniture regularly with a soft, dry cloth. Avoid using harsh chemicals or abrasive cleaners. These can damage the finish over time.
For tougher stains, use a damp cloth with mild soap. Dry the surface immediately to prevent water damage. Always test cleaning products on a hidden area first.
Touch up any chips or scratches with a small amount of paint. Blend the touch-up with the surrounding area for a seamless repair. This keeps your furniture looking fresh and new.
Reapply wax or sealant every few years to maintain protection. This is especially important for pieces that see frequent use. Regular maintenance extends the life of your chalk-painted furniture.
Conclusion
Achieving a smooth, brush stroke-free finish with chalk paint is entirely possible. Use the right tools, prepare your surface, and apply thin, even coats. Experiment with unique techniques like thinning paint or using a spray bottle.
Avoid common mistakes like overloading your brush or skipping prep work. Take your time and allow each coat to dry fully. The result will be a professional-looking piece you can be proud of.
Chalk painting is a rewarding DIY project that breathes new life into old furniture. With these tips, you can create stunning, smooth finishes every time. Start your next project today and enjoy the transformation.
Share your results with friends or on social media to inspire others. Happy painting!
FAQ
Can I use chalk paint on any type of furniture?
Yes, chalk paint adheres to most surfaces, including wood, metal, and laminate.
Do I need to sand before applying chalk paint?
Sanding is optional but recommended for a smoother finish, especially on glossy surfaces.
How many coats of chalk paint do I need?
Typically, two coats are sufficient, but additional coats may be needed for full coverage.
Can I distress chalk-painted furniture?
Yes, use sandpaper to lightly sand edges and details for a distressed look.
How do I protect chalk-painted furniture?
Apply a clear wax or sealant to protect the finish and add durability.