


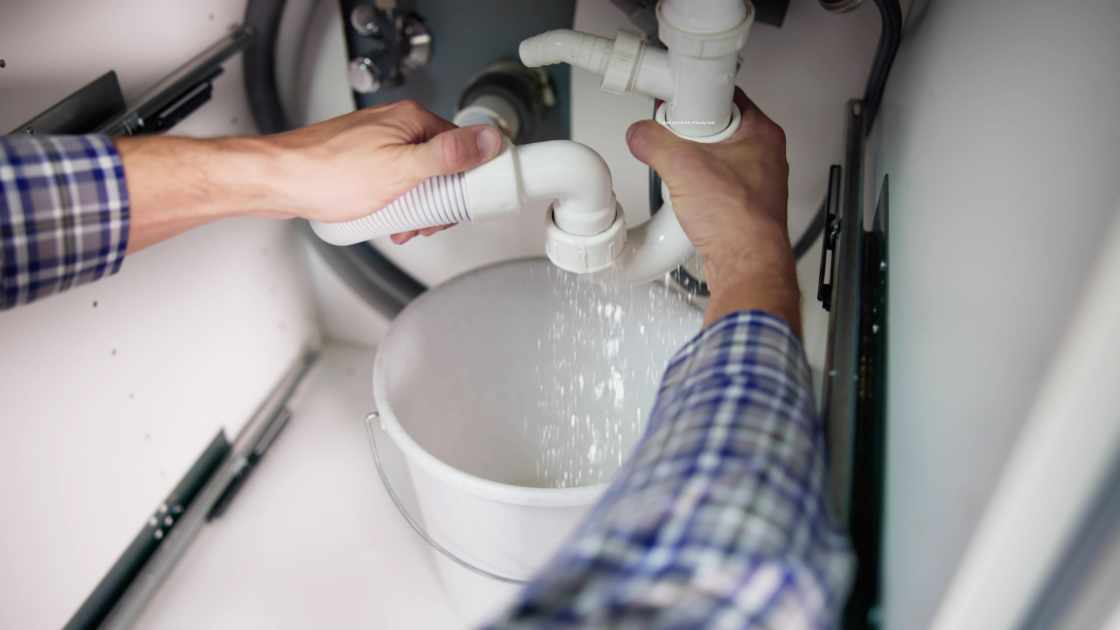
Plumber’s putty is a versatile and commonly used sealing compound that has been a staple in the toolkit of professionals and DIY enthusiasts alike. It’s particularly effective for sealing joints and preventing leaks around faucets, drains, and other plumbing fixtures. Whether you’re dealing with a small leak or installing a new fixture, plumber’s putty can be an excellent solution. In this guide, we’ll walk you through the steps on how to use plumber’s putty to stop a leak effectively.
What is Plumber’s Putty?
Plumber’s putty is a soft, malleable compound used primarily for sealing and preventing leaks in plumbing fixtures. It remains flexible and does not harden, which allows it to create a watertight seal that can be removed or adjusted later if necessary. This quality makes it ideal for use in situations where a strong seal is required but might need to be adjusted later, such as around sink drains, faucets, and other plumbing components.
When to Use Plumber’s Putty
Plumber’s putty is ideal for use in situations where you need a watertight seal but not in areas that will be under significant pressure. It’s commonly used in:
Installing or sealing sink drains
Sealing around faucet bases
Sealing joints in plumbing pipes
Installing pop-up drains in bathroom sinks
However, it’s important to note that plumber’s putty is not suitable for use in areas that will be exposed to water pressure or where the seal needs to be more rigid. In those cases, a stronger adhesive or sealant, such as silicone caulk, might be a better option.
Tools and Materials You’ll Need
Before you begin, gather the following tools and materials:
Plumber’s putty
A clean, dry cloth
A putty knife or your hands for application
A bucket or container to catch any water (if necessary)
Adjustable wrench or pliers (if working with pipes or fixtures)
Step-by-Step Guide to Using Plumber’s Putty
Preparation:
Before applying plumber’s putty, ensure the area where you’ll be applying it is clean and dry. Remove any old putty, grime, or debris from the surface. This step is crucial for ensuring a strong and effective seal.
Take a Small Amount of Plumber’s Putty:
Take a small amount of plumber’s putty from the container and roll it between your hands to form a long, thin snake-like roll. The putty should be about the thickness of a pencil.
Apply the Putty:
Place the roll of putty around the edge of the fixture or the area where you need to create a seal. For instance, if you are sealing a sink drain, place the putty around the underside of the drain flange. Make sure the putty is evenly distributed around the entire surface.
Press the Fixture in Place:
Once the putty is applied, press the fixture (e.g., drain, faucet base) firmly into place. The putty will spread out, creating a watertight seal between the fixture and the surface. Use enough pressure to ensure that the fixture is seated properly.
Remove Excess Putty:
As you press the fixture into place, excess putty will squeeze out from the edges. Use your fingers or a putty knife to remove the excess putty, ensuring a clean finish. The putty that remains should create a tight seal around the fixture.
Tighten the Fixture:
If you’re installing a fixture like a sink drain, use an adjustable wrench or pliers to tighten the retaining nut underneath the sink. This will secure the fixture in place and help maintain the seal.
Check for Leaks:
Once the fixture is in place and the excess putty has been removed, turn on the water and check for leaks. If you notice any water escaping, it may be necessary to disassemble the fixture, reapply the putty, and tighten the fixture again.
Final Inspection:
After ensuring that there are no leaks, perform a final inspection. Make sure that the putty is evenly distributed and that the fixture is securely in place.
Tips for Using Plumber’s Putty Effectively
Use the Right Amount: Using too much or too little putty can affect the effectiveness of the seal. Start with a small amount and add more if necessary.
Keep It Dry: Plumber’s putty should be applied to dry surfaces. Moisture can prevent it from adhering properly and forming a good seal.
Test Before Final Installation: If possible, test the fixture with water before tightening it fully. This allows you to make adjustments if needed.
Know When to Use Other Sealants: For situations involving high water pressure or where a permanent bond is required, consider using silicone caulk or another appropriate sealant instead of plumber’s putty.
When Not to Use Plumber’s Putty
While plumber’s putty is versatile, it’s not suitable for all situations. Avoid using it in:
Areas under high pressure: It’s not designed to withstand significant water pressure.
Exposed areas: Plumber’s putty can remain soft and pliable, which may not be suitable for areas that are visible or where a more rigid seal is required.
Plastic fixtures: Some types of plastic may be damaged or discolored by plumber’s putty, so it’s best to check the manufacturer’s recommendations before use.
FAQs
Can plumber’s putty be used on all types of plumbing fixtures?
Plumber’s putty is suitable for most metal plumbing fixtures like sink drains and faucet bases. However, it may not be ideal for some plastic fixtures, as it can cause discoloration or damage. Always check the manufacturer’s guidelines for compatibility before use.
How long does plumber’s putty take to dry or cure?
Unlike other sealants, plumber’s putty does not dry or harden. It remains soft and flexible, allowing it to be easily adjusted or removed if needed. Once applied, it creates an immediate seal that can be tested for leaks right away.
What should I do if my plumber’s putty isn’t stopping the leak?
If a leak persists after using plumber’s putty, the issue might be due to improper application, an insufficient amount of putty, or a problem with the fixture itself. Try reapplying the putty, ensuring the surface is clean and dry, or consider using a different sealant like silicone caulk for high-pressure areas.
Conclusion
Plumber’s putty is a reliable and easy-to-use tool for creating watertight seals in a variety of plumbing applications. Whether you’re fixing a leak or installing a new fixture, understanding how to apply plumber’s putty properly can save you time and prevent future leaks. By following the steps outlined above, you can effectively use plumber’s putty to stop a leak and ensure your plumbing fixtures are securely sealed.
Remember, while plumber’s putty is an excellent option for many situations, it’s important to know its limitations and when another sealant might be more appropriate. With the right approach, you can tackle leaks and installations with confidence.