


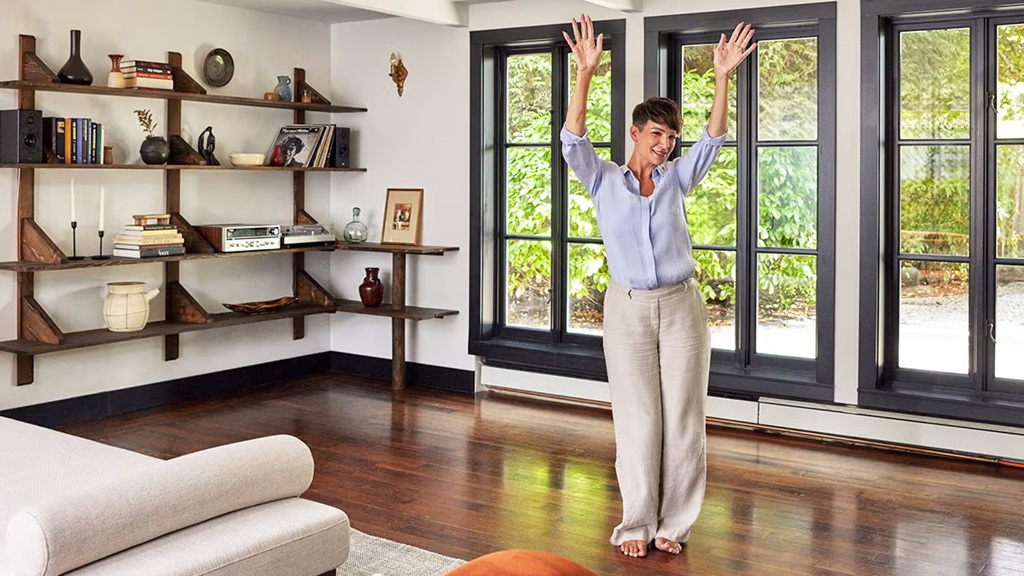
Feeling overwhelmed by the sheer amount of stuff in your home? Do overflowing drawers, packed closets, and cluttered surfaces leave you feeling stressed and drained? You’re not alone. In our busy lives, clutter can sneak up on us, slowly but surely taking over our physical space and, consequently, our mental peace.
But what if there was a clear path through the mess? A step-by-step guide to help you tackle the clutter monster head-on? That’s exactly what a decluttering checklist is for. It breaks down the colossal task of decluttering into manageable chunks, giving you a roadmap to a calmer, more organized home.
This isn’t just about having a tidy house; it’s about reclaiming your space, saving time looking for things, reducing stress, and creating an environment that truly supports your well-being. Ready to transform your home and your mindset? Let’s dive into your ultimate decluttering checklist.
Why Use a Decluttering Checklist?
Before we get to the ‘how,’ let’s quickly touch on the ‘why.’ Why bother with a checklist when you could just… start?
- Breaks Down Overwhelm: Staring at an entire cluttered house is daunting. A checklist divides the task into smaller, less intimidating sections (like a single drawer or a specific shelf).
- Provides Structure: It gives you a clear starting point and a sequence to follow, preventing you from jumping randomly between tasks and feeling unproductive.
- Ensures Thoroughness: By listing specific areas or categories, a checklist helps ensure you don’t miss hidden pockets of clutter.
- Tracks Progress: Checking off items provides a sense of accomplishment and motivates you to keep going.
- Saves Time: Knowing exactly what you need to tackle in a specific area prevents犹豫不决 (yúyī bù jué – hesitation) and wasted time.
Think of this checklist as your personal coach, guiding you through each step of the decluttering process.
Before You Start: Preparation is Key
Before you even open a single drawer, take a few moments to prepare. This will make the process smoother and more effective.
- Schedule Time: Block out dedicated time slots in your calendar. Even 30-60 minutes is better than nothing. Consistency is more important than one marathon session.
- Gather Supplies: Have everything you need on hand to avoid interruptions:
- Boxes or Bins: Label them clearly: “Keep,” “Donate,” “Discard,” “Relocate” (for items that belong elsewhere in the house).
- Trash Bags: For items destined for the bin.
- Cleaning Supplies: Wipes, a cloth, all-purpose cleaner – you’ll want to quickly clean the space after emptying it.
- Gloves (Optional): For dusty or potentially dirty areas.
- Marker or Pen: For labeling boxes.
- Music or Podcast (Optional): Make it enjoyable!
- Set Realistic Goals: Don’t expect to declutter your entire house in one weekend. Focus on one room, one zone, or even one category of items at a time.
- Develop Your Decision-Making Muscle: Get into a mindset of making quick choices. If you’re unsure, ask yourself:
- Have I used this in the last year (or six months for clothing)?
- Do I need this?
- Do I love this?
- Does this item add value to my life?
- Would I buy this today?
- Handle Sentimental Items Separately (Initially): If you anticipate getting stuck on items with emotional value, put them aside in a designated box to revisit later. Don’t let them halt your momentum.
Okay, supplies gathered, mindset ready, goals set. Let’s get to the checklists! We’ll go room by room, but feel free to tackle areas in any order that makes sense to you.
The Ultimate Room-by-Room Decluttering Checklist
Remember the core principle: Take everything out of the space you’re decluttering (drawer, shelf, box). Clean the empty space. Then, go through each item one by one and place it in one of your labeled boxes.
-
The Living Room Checklist
The living room is often a high-traffic area where clutter accumulates easily – remote controls, magazines, blankets, decorative items, electronics, and more.
- Coffee Table:
- Remove all items.
- Sort magazines (keep recent, discard old).
- Gather remotes (store in a designated spot).
- Deal with coasters, books, decor.
- End Tables:
- Empty drawers and surfaces.
- Declutter lamps, books, tissues, personal items.
- Entertainment Center/TV Stand:
- Sort DVDs, CDs, video games (keep what you use/love, donate others).
- Organize or discard tangled cords and old electronics.
- Declutter manuals and warranties (consider digital copies).
- Handle decorative items on or in the unit.
- Shelves/Bookcases:
- Remove all books and decorative items.
- Sort books (keep, donate, sell).
- Evaluate decor – does it still bring you joy?
- Dust shelves before returning items.
- Under Furniture:
- Check under sofas and chairs for lost items or dust bunnies.
- Blankets and Pillows:
- Wash or store excess throws and decorative pillows.
- Walls & Surfaces:
- Are there too many pictures or wall hangings? Does anything feel cluttered?
- Remove any items that don’t truly belong in the living room.
-
The Kitchen Checklist
The kitchen is a major clutter hot spot – gadgets, containers, expired food, duplicate utensils, and endless mugs!
- Countertops:
- Remove everything that doesn’t live there (e.g., mail, keys, toys).
- Minimize appliances left out – only keep what you use daily.
- Organize remaining items (utensil holders, knife block).
- Drawers (Utensils, Gadgets, Junk Drawer):
- Empty completely.
- Discard broken or never-used gadgets/utensils.
- Consolidate duplicates.
- Organize with drawer dividers.
- Tackle the infamous “junk drawer” – sort contents ruthlessly.
- Cabinets (Dishes, Glasses, Mugs):
- Remove items from one shelf or cabinet at a time.
- Donate excess dishes, glasses, or mugs.
- Discard chipped or broken items.
- Stack neatly.
- Pantry/Food Cupboards:
- Check expiry dates ruthlessly. Discard expired food.
- Consolidate open packages.
- Donate non-perishable food you won’t eat.
- Use bins or containers to group similar items (e.g., snacks, baking supplies).
- Refrigerator & Freezer:
- Remove everything.
- Discard expired, questionable, or forgotten food.
- Wipe down shelves and drawers.
- Return only what is fresh and needed, organized by category.
- Under the Sink:
- Remove all cleaning supplies and other items.
- Discard empty bottles or old sponges.
- Consolidate or properly store chemicals.
- Use a small bin or riser to organize.
- Pots, Pans, Baking Sheets:
- Get rid of damaged cookware.
- Ensure you have complete sets of lids.
- Use lid organizers or vertical storage racks.
- Food Storage Containers:
- Match bases with lids. Discard those without a match or those stained/damaged.
- Stack neatly or use a dedicated container organizer.
- Small Appliances:
- Evaluate appliances you rarely use (bread maker, specific juicer). Could they be stored elsewhere or donated?
- Recipe Books/Papers:
- Go through recipes. Keep only your favorites or digitize them.
-
The Bedroom Checklist
Your sanctuary should be a calm, restful space, not a storage unit!
- Wardrobe/Closet:
- Remove all clothing.
- Sort clothes by type (tops, bottoms, dresses, etc.).
- Ask yourself: Have I worn this in the last year? Does it fit? Is it in good condition? Do I love it?
- Create piles for Keep, Donate, Sell, Discard.
- Declutter accessories: scarves, belts, ties.
- Declutter shoes and bags – keep only those you wear.
- Discard damaged hangers and use matching ones for a cohesive look.
- Dresser:
- Empty each drawer.
- Sort contents (socks, underwear, pajamas, etc.).
- Discard worn-out items.
- Fold neatly using methods like KonMari or file folding. Use drawer dividers for small items.
- Declutter the top surface – remove unnecessary items.
- Nightstand:
- Empty drawers and surface.
- Keep only essentials (book, lamp, water, phone charger).
- Declutter old books, papers, gadgets, medications.
- Under the Bed:
- Remove everything stored there.
- Evaluate items – should they be stored here? Use under-bed storage containers for seasonal items or linens if necessary.
- Jewelry:
- Go through all jewelry. Discard broken pieces.
- Keep only items you wear and love. Store using organizers to prevent tangling.
- Laundry Hamper Area:
- Ensure clothes make it into the hamper, not around it.
- Establish a laundry routine.
-
The Bathroom Checklist
Often small but prone to accumulating a surprising amount of stuff – old makeup, expired medications, endless tiny bottles.
- Medicine Cabinet:
- Check expiry dates on all medications, vitamins, and supplements. Discard expired items safely.
- Declutter old or unused toiletries.
- Organize remaining items neatly.
- Under the Sink:
- Remove all cleaning supplies, toiletries, hair tools, etc.
- Discard empty bottles, old sponges, broken items.
- Consolidate products.
- Use bins or pull-out drawers for organization.
- Drawers:
- Empty completely.
- Declutter makeup (check expiry, discard old).
- Declutter hair ties, bobbles, clips.
- Declutter skincare samples or products you didn’t like.
- Organize with drawer dividers.
- Shower/Bathtub Area:
- Minimize bottles in the shower – only keep what’s currently being used.
- Discard empty or nearly empty bottles.
- Clean product residue.
- Linen Closet (if in bathroom):
- Check towels and washcloths – discard stained or frayed ones.
- Fold and stack neatly.
- Declutter extra bedding or blankets that don’t belong.
Related: How to Make a Moving Inventory with Apps
Home Office/Desk Area Checklist
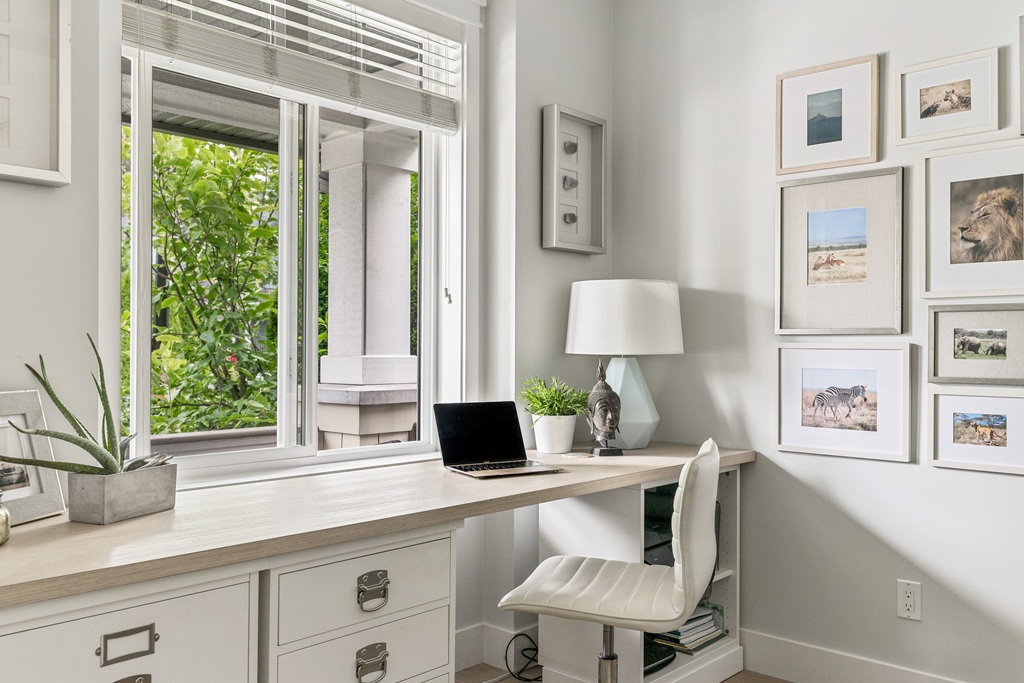
A cluttered workspace can seriously impact productivity and focus.
- Desk Surface:
- Remove everything.
- Only return items used daily (computer, lamp, pen holder).
- File away papers or deal with them immediately.
- Desk Drawers:
- Empty completely.
- Discard dried-out pens, broken stationery, random junk.
- Consolidate supplies.
- Use drawer organizers for pens, paper clips, etc.
- Paperwork/Files:
- Tackle piles of paper. Sort into categories: Action, File, Read, Discard.
- Shred or safely discard sensitive documents you no longer need.
- Create a simple filing system for important documents.
- Deal with mail immediately upon entering the house.
- Books/Resources:
- Evaluate books and reference materials – keep only what is relevant and useful.
- Electronics/Cords:
- Organize or discard old chargers, cables, and outdated electronics.
- Label cords.
- Office Supplies:
- Consolidate supplies and get rid of excess or broken items.
-
Entryway/Mudroom Checklist
This is the first impression of your home and a common drop zone.
- Shoes:
- Remove all shoes.
- Keep only shoes currently worn. Store others elsewhere.
- Use a shoe rack or mat to contain them.
- Coats/Jackets:
- Remove all items from hooks or closet.
- Store off-season coats elsewhere.
- Donate unused coats.
- Bags (Handbags, Backpacks, Totes):
- Empty bags regularly.
- Store bags neatly when not in use.
- Get rid of excess or unused bags.
- Mail/Papers:
- Establish a system for dealing with incoming mail immediately (trash junk mail, place action items in a designated spot).
- Keys/Wallets/Sunglasses:
- Have a designated spot (tray, hook) for these essentials.
- Miscellaneous:
- Declutter items that pile up – umbrellas, sports equipment, dog leashes.
-
Storage Areas (Garage, Attic, Basement – High-Level)
These areas are often dumping grounds. Tackling them requires significant effort, but the payoff in space is huge.
- Break Down Zones: Divide the area into smaller zones (e.g., tools section, holiday decor corner, sports equipment wall).
- Categorize Items: Pull out all items belonging to one category from its zone.
- Evaluate: Be realistic about what you actually need, use, or will ever use.
- Discard/Donate: Be ruthless with broken items, things you haven’t seen or used in years, or duplicates.
- Organize: Use shelving, clear bins (labeled!), and vertical space effectively to store remaining items.
Related: How to Choose Sustainable Materials for Custom Furniture
After Decluttering: The Follow-Up
You’ve done the hard work of decluttering! Now, it’s crucial to finish the process.
- Handle Your “Out” Piles:
- Immediately put items to donate in your car to drop off.
- Take trash/recycling out immediately.
- Gather items to “relocate” and put them where they belong now.
- Clean the Space: Give the newly decluttered area a thorough cleaning.
- Organize What’s Left: Put the “Keep” items back in a logical, organized way. Consider storage solutions like dividers, bins, or containers.
- Reward Yourself: Acknowledge your hard work! You deserve it.
Maintaining a Clutter-Free Home
Decluttering isn’t a one-time event; it’s an ongoing process. Here’s how to keep the clutter creep at bay:
- Implement a “One In, One Out” Rule: When something new comes into your home (a shirt, a book, a gadget), let go of a similar item.
- Daily Tidy-Up: Spend 10-15 minutes each day putting items back where they belong.
- Weekly Reset: Do a slightly deeper tidy-up once a week, focusing on areas that tend to accumulate clutter.
- Regular Mini-Declutters: Schedule a quick 15-30 minute decluttering session on a specific area (e.g., one kitchen drawer, your nightstand) every week or two.
- Be Mindful of New Purchases: Think before you buy. Do you need it? Do you have space for it?
- Establish Drop Zones: Have specific places for keys, mail, bags, etc., to prevent items from being dumped randomly.
Related: How to Incorporate High-End Furniture Into a Small Space
Conclusion
Decluttering with a checklist transforms an overwhelming task into a series of achievable steps. By breaking down your home into specific zones and items, you gain clarity, stay focused, and can track your progress as you go.
This ultimate room-by-room decluttering checklist provides the structure you need to start reclaiming your space. It’s not about creating a perfect, sterile environment, but about curating a home that supports your life, reduces stress, and allows you to find what you need when you need it.
Start small, follow the checklist, and celebrate your progress. Your calmer, more organized home (and mind!) awaits. Which room will you tackle first?