


You paint a room cleanly by prepping every surface first, cutting in with a steady hand, and rolling in the right pattern. Skip the prep, and you’ll fight drips and tape bleed the whole way through. Contractors don’t paint faster than you. They just prep smarter and control their tools better.
This guide breaks down the exact process professional painters use. You’ll learn how to protect your floors and trim, how to load a brush without splattering, and how to roll paint so it doesn’t drip down the wall. Follow these steps in order, and your next paint job will look like it came from a pro crew.
Why Most DIY Paint Jobs Look Messy
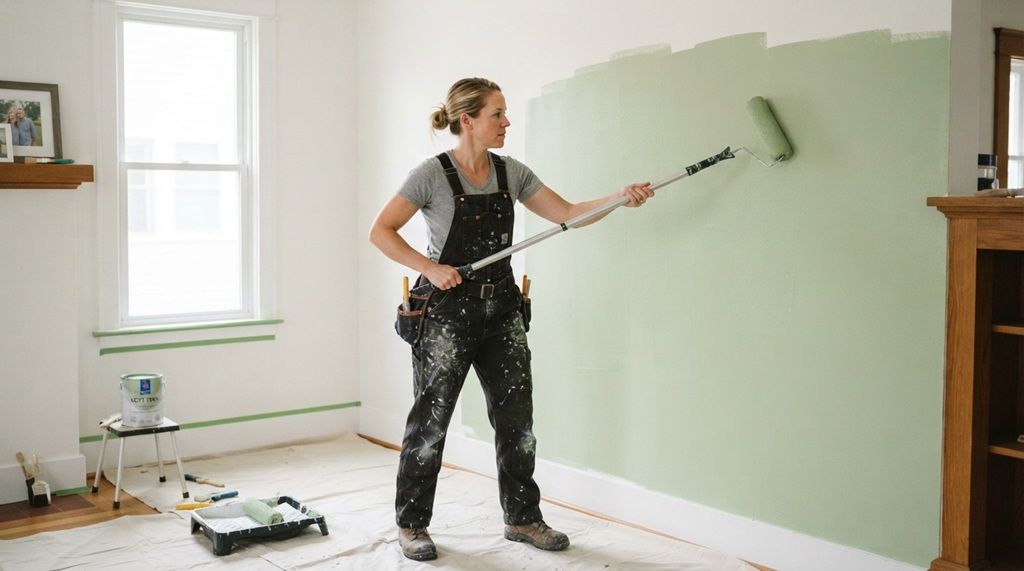
Most DIY paint jobs look messy because people skip prep and rush the cutting-in step. Paint fails happen at the edges first, not in the middle of the wall.
Contractors spend up to 50% of their total job time on prep work. That means taping, cleaning, patching holes, and laying down drop cloths. Most homeowners spend five minutes on prep and jump straight to the roller. That gap explains almost every messy result you’ve ever seen.
Rushing also causes wet-edge problems. Paint dries fast at the edges of your working area. If you don’t keep a wet edge, you get visible lap marks once the paint cures. Slowing down at the start actually speeds up your finish.
How to Prep a Room So Paint Goes On Clean
Proper prep means clearing the room, protecting every surface, and repairing wall damage before you open a single can of paint. This step decides whether your final coat looks smooth or sloppy.
Clear and Protect the Space
Move furniture to the center of the room or out entirely. Cover everything with plastic sheeting, not old bedsheets. Sheets let paint soak through; plastic does not.
Lay canvas drop cloths on the floor. Canvas grips the floor and won’t slide under your ladder. Avoid thin plastic drop cloths on floors, since they turn slippery once a little paint lands on them.
Clean and Repair the Walls
Wipe down walls with a damp cloth to remove dust and cobwebs. Paint won’t stick well to a dirty surface, and any dust under the paint will show as tiny bumps once dry.
Fill nail holes and small dents with spackle. Let it dry fully, then sand it smooth with fine-grit sandpaper. Skipping this step leaves shadows and dips visible under any paint sheen above flat.
Tape the Right Way
Use painter’s tape, not masking tape, along trim, ceilings, and corners. Press the edge down firmly with a putty knife so paint can’t creep underneath it.
Pull the tape off at a 45-degree angle while the paint is still slightly tacky, not fully dry. This one habit prevents the tape from peeling off chunks of your fresh paint.
The Cutting-In Technique Contractors Use for Sharp Lines
Cutting in means painting a straight freehand line along edges and corners before you roll the rest of the wall. A steady hand and the right brush matter more than tape here.
Load your angled brush by dipping it about one-third of the way into the paint. Tap off the excess on the side of the can. Don’t wipe it on the rim, since that dries out the bristles and wastes paint.
Hold the brush like a pencil, not a fist. Paint a line about two to three inches wide along the ceiling, trim, and corners. Move in smooth, slow strokes instead of short, jerky ones.
Cut in one wall at a time, then immediately roll that same wall while the cut-in paint is still wet. This keeps the texture even between the brushed edge and the rolled section, so you won’t see a visible seam once it dries.
How to Roll Paint Without Drips or Roller Marks
Rolling paint cleanly comes down to loading the roller correctly and using a consistent W-pattern across the wall. Overloading the roller is the top cause of drips.
Load the Roller Correctly
Dip the roller into the paint tray, then roll it back and forth on the ridged section. This spreads the paint evenly across the nap and removes the excess that would otherwise drip.
Never dunk the roller straight into a full can. That soaks the roller unevenly and guarantees drips down your wall and arm.
Use the W Technique
Start about two feet from a corner and roll a large “W” shape on the wall. Then fill in the W without lifting the roller, moving in overlapping vertical strokes.
This technique spreads paint evenly before it has a chance to dry unevenly in one spot. It’s the single biggest difference between a streaky wall and a smooth one.
Keep a Wet Edge
Always roll from a dry section back into a wet one, never the reverse. This blends the new paint into the old before either section starts to dry.
Work in manageable sections, roughly three to four feet wide, so you can keep that wet edge the whole way across the wall.
The Cleanup Habits That Keep the Whole Job Looking Sharp
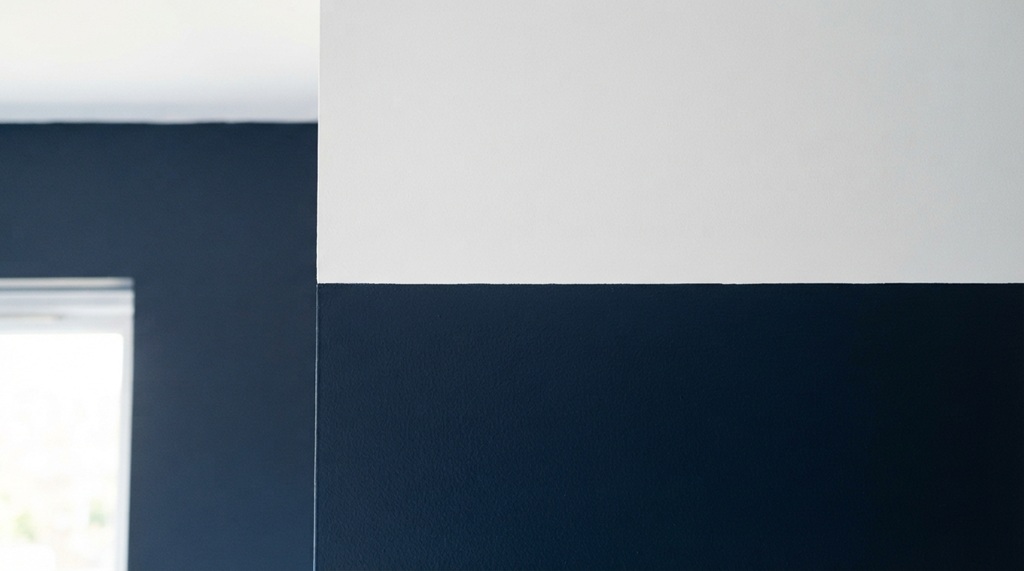
Clean habits during the job matter as much as the painting itself. A drip left to dry becomes a permanent bump you’ll notice every time you walk past it.
Keep a damp rag in your pocket the entire time you paint. Wipe drips off trim, switch plates, and floors the moment they happen, not at the end of the day.
Set your paint can on a paper plate or tray liner. This catches drips off the rim and stops your work area from getting sticky and tracked around the room.
Wash brushes and rollers immediately after each use. Dried paint in the bristles ruins the tool and makes your next coat rougher, since a stiff brush lays down uneven lines.
Detecting Hidden Imperfections and Moisture Hazards
Most painting guides overlook the critical role of directional lighting: relying solely on overhead fixtures creates subtle shadows that conceal thin patches, roller marks, and drips until the finish completely dries and natural sunlight shifts. To achieve a flawless contractor-grade finish especially when applying darker shades angle a portable work light nearly parallel to the surface; this “raking light” technique instantly illuminates subtle surface flaws, texture inconsistencies, and unblended edges so you can correct them before calling a coat complete. Furthermore, if you are working on lower levels or subterranean spaces, take thirty seconds to conduct a moisture inspection under this low-angle beam before applying primer; identifying water stains or subterranean seepage early such as understanding why basement plumbing fails in Seattleensures you resolve underlying pipe issues before dampness trapped behind the drywall ruins your freshly painted coat.
FAQ: Common Questions About Painting a Room Cleanly
How many coats of paint does a room actually need?
Most rooms need two coats for even, solid color. One coat often leaves roller marks and patchy spots, especially with darker colors or big color changes.
Should I paint the ceiling or the walls first?
Paint the ceiling first, then the walls, then the trim last. This order lets any drips from the ceiling get covered by your wall paint instead of showing through.
How long should I wait between coats?
Wait at least two to four hours between coats, or check the label for your specific paint. Rushing a second coat can pull the first one and leave streaks.
Why does my paint look streaky even after two coats?
Streaks usually come from an overloaded roller, painting over a partly dried edge, or using low-quality paint. Try a raking light check and a slower, more even rolling pattern.
Can I skip primer if the wall is already painted?
You can often skip primer on a wall that’s already painted in a similar color and in good condition. Always use primer on bare drywall, patched spots, or big color changes, like painting over a dark wall in a light shade.
Conclusion
Painting a room cleanly isn’t about talent. It’s about following the right order: prep first, cut in carefully, roll with a consistent pattern, and clean as you go. Add a raking light check before you call any coat finished, and you’ll catch the mistakes most people don’t notice until the next day. Follow these steps, and your next paint job will hold up to a close, honest look.