


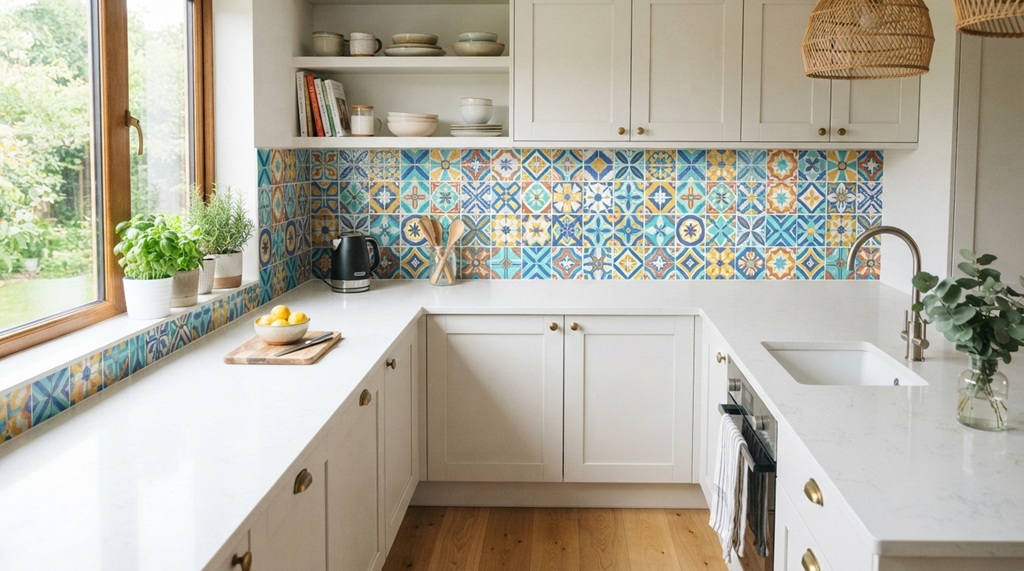
You can install peel and stick tiles in a weekend, even if you have zero renovation experience. The tiles stick straight to your wall or floor. You skip the mess of grout, mortar, and power tools.
This guide walks you through every step. You will learn how to prep your kitchen, place the tiles, and avoid the mistakes that trip up first-timers. By the end, you will know exactly what to buy, how much time to set aside, and how to make the tiles last.
Peel and stick tiles work best as a backsplash update or a quick floor refresh. They will not replace a full renovation. But for the price and effort, they give you a real style change fast.
What Are Peel and Stick Tiles, and Where Do They Work Best?
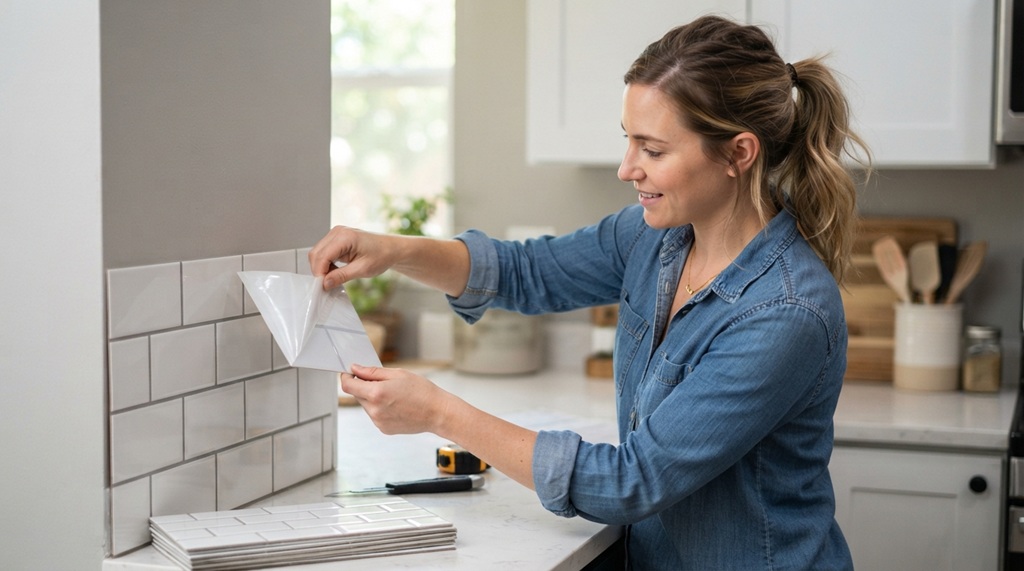
Peel and stick tiles are self-adhesive tiles that stick to a surface without mortar or grout. You peel off a backing sheet, press the tile into place, and you’re done.
Most brands come in vinyl, PVC, or metal styles that mimic ceramic, subway tile, or natural stone. Kitchens use them most often on backsplashes, since that area gets light wear and no direct foot traffic. Some heavy-duty versions also work on floors, but check the product label first. Not every tile is rated for foot traffic.
Peel and stick tiles are not built for wet, high-heat zones like inside a shower. Stick to backsplashes, accent walls, or floors in low-moisture areas for the best results.
Common Materials and Their Uses
- Vinyl tiles: Flexible, budget-friendly, and easy to cut. Best for backsplashes.
- PVC gel tiles: Look more like real ceramic. Slightly more expensive, but they hold texture and shine better.
- Metal tiles: Give a modern look. Best for small backsplash accents, not full walls.
- Mosaic sheets: Multiple small tiles pre-attached to one backing sheet. Faster to install than single tiles.
What Tools and Materials You Need Before You Start
You need five basic tools and a handful of materials before you start. None of these require a trip to a specialty store.
Tools:
- Utility knife or scissors
- Tape measure
- Level
- Pencil
- Straightedge or ruler
Materials:
- Peel and stick tiles (buy 10% extra for cuts and mistakes)
- Rubbing alcohol or mild degreaser
- Clean rags
- Painter’s tape (optional, for straight guide lines)
Most kitchens need one to three boxes of tile, depending on backsplash size. Measure your space first, then check the box coverage listed on the product. This step saves you a second trip to the store mid-project.
How to Prep Your Kitchen Surface Before Installing Tiles
Clean, dry, and smooth surfaces make peel and stick tiles stick better and last longer. Skip this step, and tiles will peel within weeks.
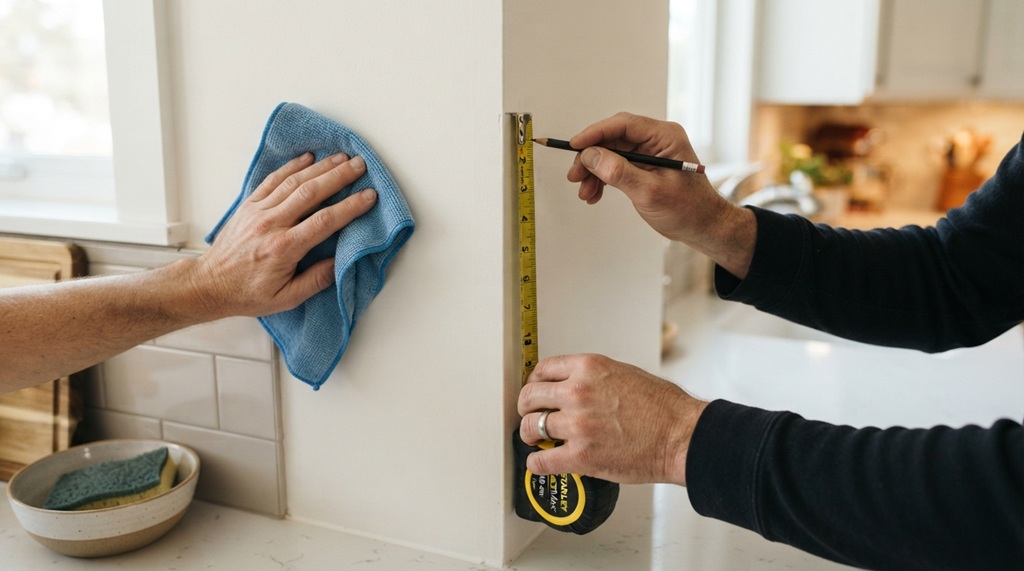
Start by wiping down the wall or backsplash area with a degreaser or rubbing alcohol. Kitchen walls collect grease from cooking, even if they look clean. That grease film stops the adhesive from bonding properly.
Next, check for texture. Peel and stick tiles need a flat, smooth surface. If your wall has heavy texture, bumps, or old wallpaper, the tiles will not lie flat. In that case, install a thin layer of smooth underlayment or luan board first.
Let the surface dry completely before you move to the next step. Even a small amount of moisture can weaken the adhesive bond.
Thermal Surface Preparation: The Missing Metric for Peel-and-Stick Tiles
While standard guides focus solely on scrubbing away grease, long-term adhesion relies heavily on room temperature a critical factor most homeowners overlook. The pressure-sensitive backing on peel-and-stick tiles is engineered to cure optimally within an environment of 65°F to 75°F; ambient cold stiffens the adhesive substrate, causing early bonding failure regardless of how clean the wall is. Ensuring your kitchen is warmed to this range prior to installation guarantees a strong, permanent bond. If your project includes refreshing adjacent surfaces before tackling the backsplash, learn paint a room cleanly like an expert contractor to establish a immaculate, professional foundation across your entire space without the mess.
How to Plan Your Layout Before Placing Any Tiles
Plan your layout before you peel a single tile. This step prevents crooked lines and awkward half-tiles at the edges.
Find the center point of your backsplash or wall area. Mark it with a pencil. Use a level to draw a straight vertical and horizontal guideline through that center point. These lines become your reference for every tile you place.
Dry-fit a few tiles along the guideline before committing. This shows you how the pattern will land at the corners and edges. If a full row ends in a sliver of tile, shift your starting point slightly. A little planning here saves you from an unbalanced final look.
Work outward from the center, not from one corner. Corner-first installs often end crooked by the time you reach the far wall.
Step-by-Step Installation Guide
Installation itself takes the least time in this whole project, often under two hours for an average backsplash. The prep and planning steps matter more for the final result.
- Peel the backing off the first tile. Start at your center guideline.
- Press the tile into place. Push from the center of the tile outward to avoid air bubbles.
- Smooth it down. Use a credit card or plastic scraper to press out any trapped air.
- Place the next tile. Butt it snugly against the first, following your guidelines.
- Repeat row by row. Work outward from your center point in both directions.
- Cut tiles for edges. Measure the gap, mark your tile, and cut with a utility knife or scissors.
- Press all edges firmly. Edges lift first if they are not fully sealed down.
Give the tiles 24 hours to fully set before wiping them down or exposing them to heavy moisture.
Common Mistakes That Ruin a Peel and Stick Tile Install
Most failed installs come down to three repeatable mistakes: skipping surface prep, installing over grease, and rushing the layout.
Skipping the degreasing step.
Kitchen walls hold more grease than they look like they do. Skipping this step is the single biggest reason tiles peel off early.
Installing directly over old, damaged, or textured surfaces.
Peel and stick tiles telegraph every bump and flaw underneath them. A rough surface now becomes a rough-looking backsplash.
Rushing the layout step.
Placing tiles corner-to-corner without a center guideline often leads to crooked rows by the time you reach the far side.
Using low-quality tiles in a high-use kitchen.
Cheaper vinyl tiles peel faster near stovetops and sinks, where heat and moisture are higher. Spending slightly more on PVC gel tiles pays off in a kitchen setting.
How to Maintain Peel and Stick Tiles So They Last Longer
Wipe peel and stick tiles down with a damp cloth and mild soap. Avoid harsh chemicals, since some cleaners break down the adhesive over time.
Keep tiles away from direct, prolonged heat sources. A backsplash directly behind a stove should have some buffer space or a heat-resistant strip, since constant heat exposure can loosen the adhesive over years of use.
Check edges every few months, especially in the first year. If a corner starts to lift, press it back down right away with firm pressure. Catching lift-off early prevents it from spreading across the whole tile.
Frequently Asked Questions
How long do peel and stick tiles last in a kitchen?
Most peel and stick tiles last three to five years with proper installation and care. Lifespan depends heavily on surface prep, tile quality, and how close they sit to heat or moisture sources.
Can I put peel and stick tiles directly over old tile?
Yes, as long as the old tile is clean, flat, and free of grease. Deep grout lines may show through, so a thin layer of smoothing compound helps in that case.
Do peel and stick tiles work behind a stove?
Yes, but leave a small buffer zone or use a heat-resistant strip near direct heat. Constant high heat can weaken the adhesive over time.
Are peel and stick tiles waterproof?
Most are water-resistant, not fully waterproof. They work well for backsplashes but are not recommended for constant-moisture areas like shower walls.
How do I remove peel and stick tiles without damaging the wall?
Use a hairdryer to warm the adhesive, then gently pry up a corner with a plastic scraper. Heat softens the glue and makes removal much easier without pulling off paint or drywall.
Final Thoughts
Peel and stick tiles give you a real kitchen upgrade without a full renovation budget or timeline. The key steps that matter most are cleaning the surface, planning your layout around a center guideline, and using quality tiles suited for kitchen conditions.
Follow the prep and planning steps closely, and the installation itself becomes the easy part. Most kitchens can go from outdated to updated in a single weekend, with results that hold up for years when done right.