


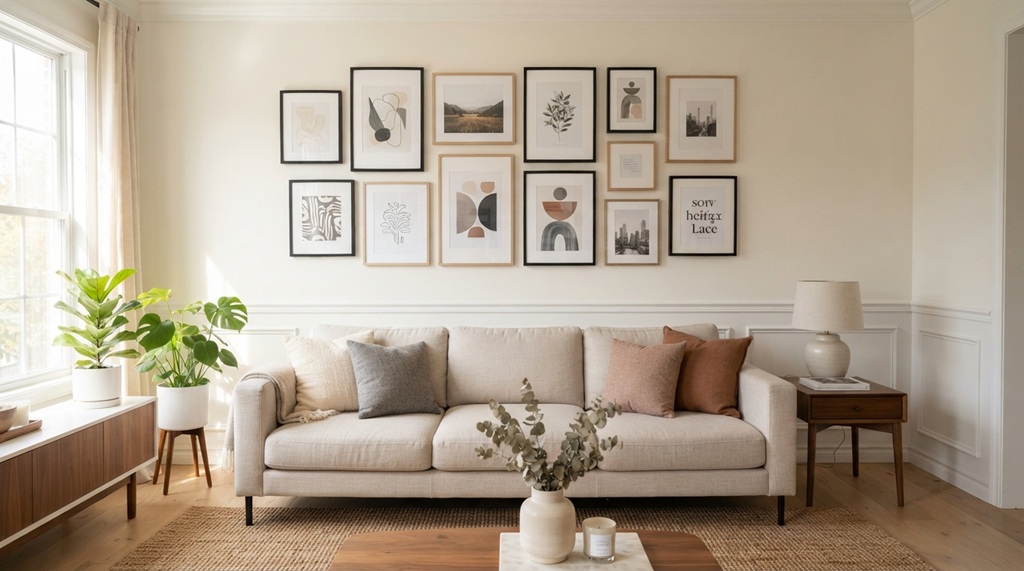
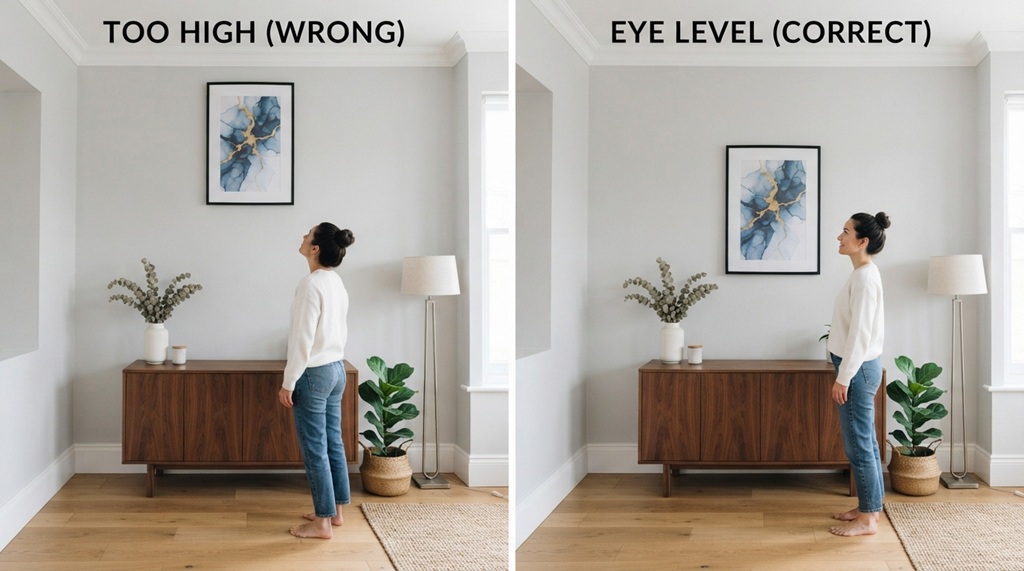
Hang wall art at eye level, roughly 57 to 60 inches from the floor to the center of the piece. This single rule fixes most hanging mistakes before they happen. Get the height right, and everything else spacing, hardware, and layout becomes much easier to plan.
Most people hang art too high. They aim for the top of the furniture instead of the average sightline. This guide walks you through the exact steps, tools, and measurements that professional decorators use. You’ll avoid the crooked frames, random nail holes, and awkward gaps that make a room feel unfinished.
By the end, you’ll know how to hang a single piece, a gallery wall, or art above furniture without guessing.
Why Eye-Level Height Matters Most
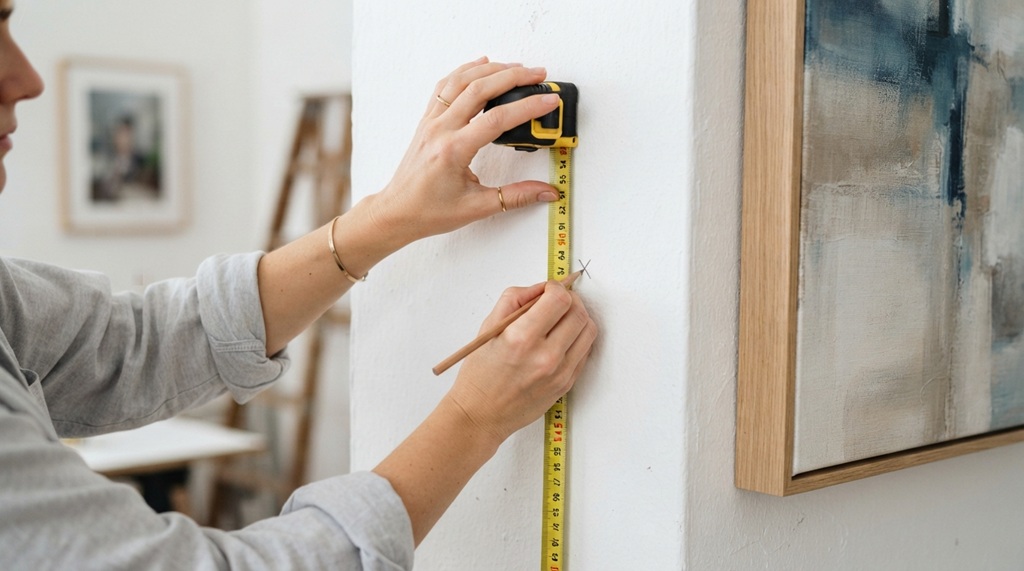
The 57-inch rule exists because it matches the average adult eye height. Interior designers rely on this number in galleries, hotels, and homes worldwide.
Measure from the floor to the center of the artwork, not the top of the frame. This detail trips up a lot of people. A large frame hung with its top edge at 57 inches will sit too high overall. Always find the center point first, then work backward to figure out where the hanging hook needs to go.
How to Calculate the Center Point
Measure the height of your frame and divide it by two. Add that number to the distance from the hanging wire (when pulled taut) to the top of the frame. Subtract this total from 57 inches. The result is where your nail or hook should go on the wall.
For example, a 20-inch tall frame has a center point 10 inches from the top. If the pulled wire sits 2 inches below the top edge, your nail goes at 57 minus 8, or 49 inches from the floor.
Choosing the Right Hardware for Your Wall Type
The right hardware depends on your wall material and the weight of the piece. Drywall, plaster, brick, and tile all need different anchors.
For lightweight frames under 20 pounds, a simple nail or picture hook works fine on drywall. Heavier pieces need a wall anchor or a stud finder to locate a support beam. Plaster walls crack easily, so drill a small pilot hole first instead of hammering directly. Brick and concrete require masonry anchors and a hammer drill.
Weight Limits and Anchor Types
- Under 10 lbs: Adhesive strips or small nails work well.
- 10–20 lbs: Use a standard picture hook rated for the weight.
- 20–50 lbs: Choose a toggle bolt or plastic wall anchor.
- 50 lbs and up: Hang directly into a wall stud whenever possible.
Always check the manufacturer’s weight rating on the hardware packaging. Industry experts recommend choosing hardware rated for more weight than you think you need, since frame weight often gets underestimated once glass and matting are included.
Mastering Art Placement Above Furniture
When hanging artwork above a sofa, bed, or console, leave 6 to 8 inches of space between the top of the furniture and the bottom of the frame to keep them visually connected. Always center the art directly above the furniture piece rather than the wall’s midpoint, and choose an arrangement that spans two-thirds to three-quarters of the furniture’s total width for proper scale.
Achieving this balance elevates your overall room layout much like applying smart spatial rules in tighter quarters. If you want to make your space feel even more open, decorate a dmall bedroom to look bigger to effortlessly enhance your room’s dimensions.
Planning a Gallery Wall Without Guesswork
Lay your frames out on the floor first, then trace the arrangement onto paper before hammering anything. This step alone prevents most gallery wall mistakes.
Cut kraft paper or newspaper into the exact shape of each frame. Tape these templates to the wall in your planned layout, adjusting spacing until it feels balanced. Keep gaps between frames consistent 2 to 3 inches works well for most arrangements. Mark the nail position directly on the paper template, hammer through it, then peel the paper away.
Common Gallery Wall Layouts
- Grid layout: Even spacing, matching frame sizes, clean and modern.
- Salon-style: Mixed sizes and shapes, filled in organically.
- Linear layout: A single row, ideal for hallways and staircases.
Whichever layout you choose, treat the whole arrangement as one large piece. Measure its combined height and center that as a unit, using the 57-inch rule for the group’s visual center rather than each frame individually.
Tools That Make the Job Easier
A stud finder, a small level, and a rubber mallet solve most hanging problems before they start. These three tools cost very little and save hours of frustration.
The stud finder locates safe anchor points in drywall. A level prevents the crooked-frame look that ruins an otherwise good hanging job. A rubber mallet drives small nails without cracking plaster or leaving hammer marks around the hole.
Painter’s tape also helps enormously. Mark your planned nail height with a small piece of tape before drilling. This gives you a chance to step back, check the height against the room, and adjust before committing to a permanent hole.
Fixing Common Wall Art Mistakes
Most hanging mistakes fall into three categories: wrong height, poor spacing, and weak hardware. Each has a quick fix.
If your art sits too high, lower it. Most people default to hanging art near the ceiling, which stretches the room awkwardly. Bring it down to the 57-inch center guideline and the room will instantly feel more balanced.
If spacing between multiple pieces looks uneven, use a spacer tool or a cut piece of cardboard to keep gaps consistent. Uneven spacing is one of the most noticeable mistakes in a gallery wall, even when every other detail is correct.
If a frame keeps slipping or tilting, the hardware is likely too weak for the frame’s weight. Swap a single nail for a two-point hanging system, which distributes weight across two anchor points and keeps the frame level over time.
Frequently Asked Questions
How high should I hang a picture on the wall?
Hang most artwork so its center sits 57 to 60 inches from the floor. This matches average eye level and works for most rooms and ceiling heights. Adjust slightly lower in rooms with low ceilings or if most viewers will be seated.
What is the best way to hang a heavy mirror or frame?
Locate a wall stud with a stud finder and hang directly into it whenever possible. If a stud isn’t available, use a toggle bolt rated for at least twice the item’s weight. Always use two anchor points for anything over 20 pounds.
How do I keep a picture frame from tilting?
Use two hanging points instead of one, or add small rubber bumpers to the bottom back corners of the frame. These bumpers create friction against the wall and stop small shifts caused by vibration or foot traffic nearby.
Can I hang art without putting holes in the wall?
Yes, adhesive strips and hooks work well for lightweight frames under about 10 pounds. Check the weight rating on the packaging, and avoid these on textured or freshly painted walls, since the adhesive may not hold as securely.
How do I know if my gallery wall spacing looks right?
Keep spacing between frames consistent, usually 2 to 3 inches apart. Step back 6 to 8 feet and view the wall as a whole before making it permanent. If one gap looks off from that distance, it will look off to guests too.
Final Thoughts
Hanging wall art correctly comes down to three things: the right height, the right spacing, and the right hardware. Start with the 57-inch eye-level rule, measure twice, and use painter’s tape to test positions before drilling. Whether you’re hanging one frame or building a full gallery wall, these steps remove the guesswork and help you get it right on the first try.