


Healthy soil is the foundation of a thriving garden. Over 70 percent of plant health issues start with poor soil conditions. Testing soil pH helps you pick the right plants and fix problems early. Most gardeners do not realize they can test soil pH without buying a kit. Simple household items can give you fast and reliable results.
Why Testing Soil pH Matters For Your Garden
Soil pH directly impacts nutrient availability for your plants. When the pH is too high or too low plants struggle to take up essential minerals. This leads to stunted growth yellow leaves and poor harvests. Testing soil pH helps you avoid these problems before they start.
Different plants thrive in different pH ranges. For example blueberries need acidic soil with a pH of 4.5 to 5.5. On the other hand vegetables like cabbage and spinach prefer slightly alkaline soil. Create a garden that matches your soil conditions for the best results.
Testing soil pH also helps you choose the right fertilizers. Some fertilizers work better in acidic soil while others are more effective in alkaline conditions. By knowing your soil pH you can pick products that will give your plants the nutrients they need.
Regular pH testing allows you to track changes over time. Soil pH can shift due to rainfall fertilizer use and plant decay. Monitoring these changes helps you maintain the ideal environment for your garden to flourish.
Simple Household Items To Test Soil pH
You do not need a fancy kit to test your soil pH. Common items like vinegar and baking soda can do the job. These methods are quick cheap and easy to do at home. They provide a good estimate of whether your soil is acidic neutral or alkaline.
Vinegar reacts with alkaline soil to produce bubbles. Baking soda does the same in acidic soil. By observing these reactions you can determine your soil pH range. These tests are not as precise as lab tests but they are accurate enough for most gardeners.
Another option is to use red cabbage as a natural pH indicator. Cabbage juice changes color depending on the pH of the soil it touches. This method is a bit more involved but it gives a wider range of results.
Each of these methods has its own strengths. Vinegar and baking soda are great for a quick check. Growing lettuce in containers can benefit from regular pH testing to ensure optimal conditions.
Step By Step Vinegar And Baking Soda Test
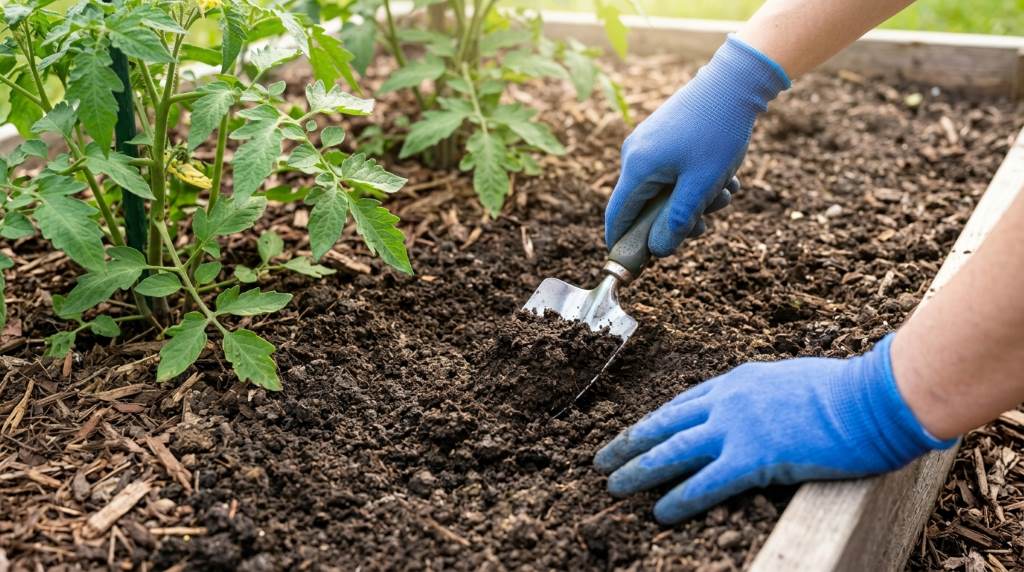
This is the easiest way to test soil pH at home. Start by collecting soil samples from different parts of your garden. Use a clean trowel to dig about 4 to 6 inches deep. Remove any rocks leaves or debris from the samples.
Divide each sample into two small containers. Add half a cup of vinegar to one container. If the soil fizzes or bubbles it means the soil is alkaline with a pH above 7.0. The more it fizzes the higher the pH is likely to be.
Next add half a cup of water to the other container and mix it into a muddy paste. Then add half a cup of baking soda. If the soil fizzes or bubbles now it means the soil is acidic with a pH below 7.0. The stronger the reaction the more acidic the soil.
If neither sample reacts the soil is likely neutral with a pH around 7.0. This method gives you a basic idea of your soil pH. For more precise results you can repeat the test with fresh samples.
Using Red Cabbage As A Natural pH Indicator
Red cabbage contains a pigment that changes color in different pH levels. To use this method chop up a red cabbage and boil it in water for 10 minutes. Strain the liquid and let it cool. This purple juice will act as your pH indicator.
Place two tablespoons of soil in a clean container. Add enough cabbage juice to cover the soil and mix well. Wait for 10 to 15 minutes then observe the color of the liquid. The color change will tell you the pH of your soil.
If the liquid turns pink or red your soil is acidic. A pH below 7.0 is indicated by these colors. The darker the red the more acidic the soil. This method is great for seeing subtle differences in pH levels.
If the liquid turns blue or green your soil is alkaline. These colors show a pH above 7.0. A deep blue means the soil is very alkaline. This test is more sensitive than the vinegar and baking soda method.
If the liquid stays purple your soil is neutral. This means the pH is around 7.0. Harvesting plants in neutral soil often yields the best results for a wide variety of crops.
Interpreting Your Soil pH Test Results
Understanding your test results helps you make smart gardening choices. If your soil is acidic you can add lime to raise the pH. For alkaline soil sulfur or peat moss can lower the pH. These amendments take time to work so test your soil again after a few weeks.
Most vegetables grow best in soil with a pH between 6.0 and 7.0. If your soil is outside this range you may need to adjust it. Adding organic matter like compost can also help balance pH over time.
Keep in mind that different plants have different pH needs. Acid loving plants like blueberries and rhododendrons need a pH below 6.0. Alkaline loving plants like lilacs and asparagus prefer a pH above 7.0. Grouping plants with similar pH needs can simplify garden care.
If your soil pH is very high or very low it may take several applications to bring it into the desired range. Be patient and retest your soil regularly. Over time you will learn what works best for your garden.
Tips For Accurate Soil pH Testing
Always use clean tools and containers when collecting soil samples. Contaminants can affect your test results. Take samples from multiple spots in your garden to get a full picture of your soil pH.
Test your soil when it is moist but not soaking wet. Dry soil can give inaccurate results. If your soil is too dry water it lightly and wait a day before testing.
Avoid testing soil that has been recently fertilized. Fertilizers can temporarily change the pH of your soil. Wait at least a week after fertilizing before testing. This ensures you get a true reading of your soil conditions.
Test your soil at the same time each year for consistent results. Spring and fall are good times to check your soil pH. This helps you track changes over time and make adjustments as needed.
Adjusting Soil pH Based On Test Results
If your soil is too acidic adding lime is the most common fix. Garden lime is available at most garden centers. Follow the package instructions for application rates. Lime works slowly so do not expect immediate results.
For alkaline soil sulfur is a popular amendment. Elemental sulfur lowers pH over time. You can also use peat moss or pine needles to acidify your soil. These organic materials break down slowly and provide long lasting results.
Compost is a great way to improve soil health and balance pH. It adds organic matter and beneficial microbes to your soil. Regular applications of compost can help maintain a stable pH over time.
Always retest your soil after making adjustments. It can take several weeks or even months to see changes. Keep track of your test results and amendments to learn what works best for your garden.
Common Mistakes To Avoid When Testing Soil pH
One common mistake is not taking enough soil samples. A single sample may not represent your entire garden. Take samples from different areas and at different depths for the most accurate results.
Another mistake is using dirty tools or containers. Residue from previous tests can contaminate your samples. Always clean your tools thoroughly before collecting soil.
Avoid testing soil that is too wet or too dry. Extremely wet soil can dilute your test results. Very dry soil may not react properly with your testing materials. Aim for soil that is moist but crumbly.
Do not skip the step of removing debris from your soil samples. Rocks leaves and roots can interfere with your test results. Take the time to pick out any foreign material before testing.
When To Test Soil pH For Best Results
The best time to test soil pH is in the spring before planting. This gives you time to make adjustments before the growing season begins. Testing in the fall can also be helpful for planning next year garden.
Test your soil pH at least once a year. If you are making major changes to your garden test more often. This helps you track progress and make adjustments as needed.
If you notice problems with your plants test your soil pH right away. Yellow leaves stunted growth and poor harvests can all be signs of pH issues. Testing can help you identify and fix the problem quickly.
Always test your soil pH before adding new plants to your garden. Different plants have different pH needs. Testing helps you choose plants that will thrive in your soil conditions.
FAQ
Can I use lemon juice instead of vinegar for testing soil pH?
Yes you can use lemon juice as it is also acidic and will react with alkaline soil.
How deep should I dig to collect soil for pH testing?
Dig about 4 to 6 inches deep to get a representative sample of your soil.
Will testing soil pH with household items give accurate results?
These methods provide a good estimate but for precise results consider a professional lab test.
How often should I test my garden soil pH?
Test your soil pH at least once a year or whenever you notice plant health issues.
Can I test pH for potted plants using these methods?
Yes you can test the soil in pots just like you would test garden soil.
Conclusion
Testing your garden soil pH without a kit is simple and effective. Using vinegar baking soda or red cabbage you can get a good idea of your soil conditions. These methods are quick cheap and easy to do at home.
Regular pH testing helps you maintain healthy soil and thriving plants. By understanding your soil pH you can choose the right plants and amendments. This leads to better growth higher yields and a more beautiful garden.
Start testing your soil pH today and see the difference it makes in your garden. With a little effort you can create the perfect environment for your plants to flourish. Happy gardening and enjoy the fruits of your labor.